Tutorial Lash Curling

Eyelash curlers are like cilantro (hang with us for a second here!). There are only two camps of people. Those who love eyelash curlers and those who hate them.
As huge fans of lash curlers ourselves, we’d like to believe that those who fall into the latter category are just lacking some key knowledge—or have watched one too many lash curling fails on YouTube. If they knew how to curl their eyelashes, we're pretty confident they’d switch camps ASAP. So we tapped uber talented makeup artist Anne Baker to share her tips.“Some people might be intimidated or confused by lash curlers because using a tool so close to your eye can feel scary,” says Baker. “My biggest piece of advice to anyone out there who feels scared to use a lash curler is to take the process slowly and go step by step.”
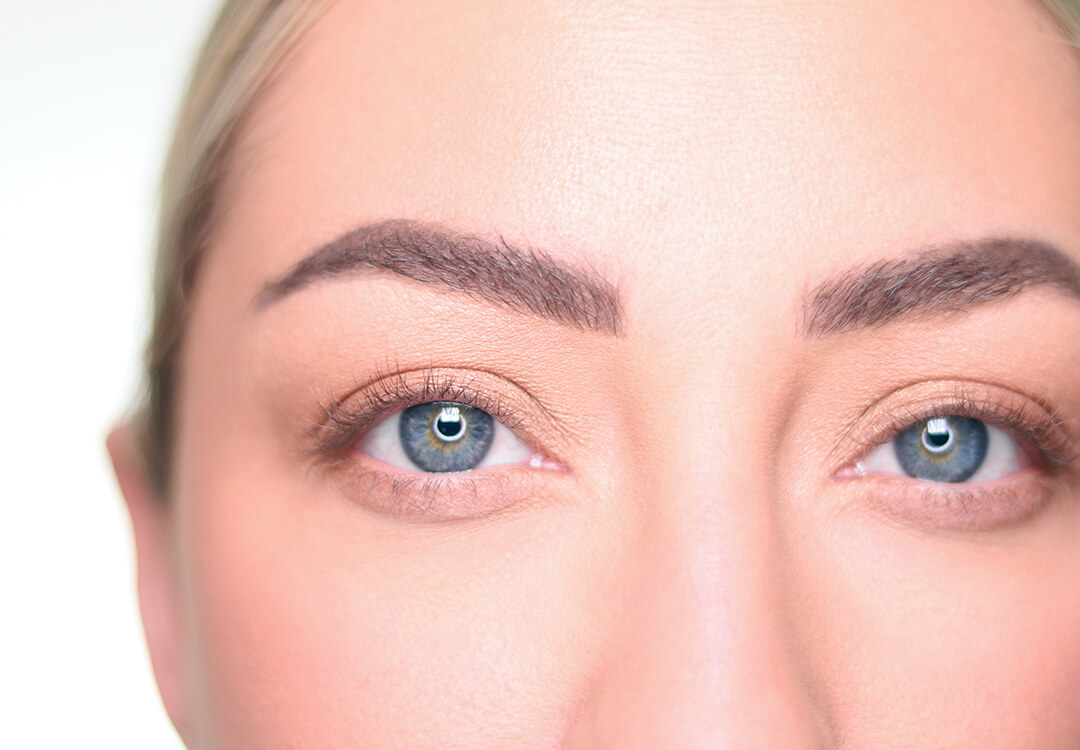
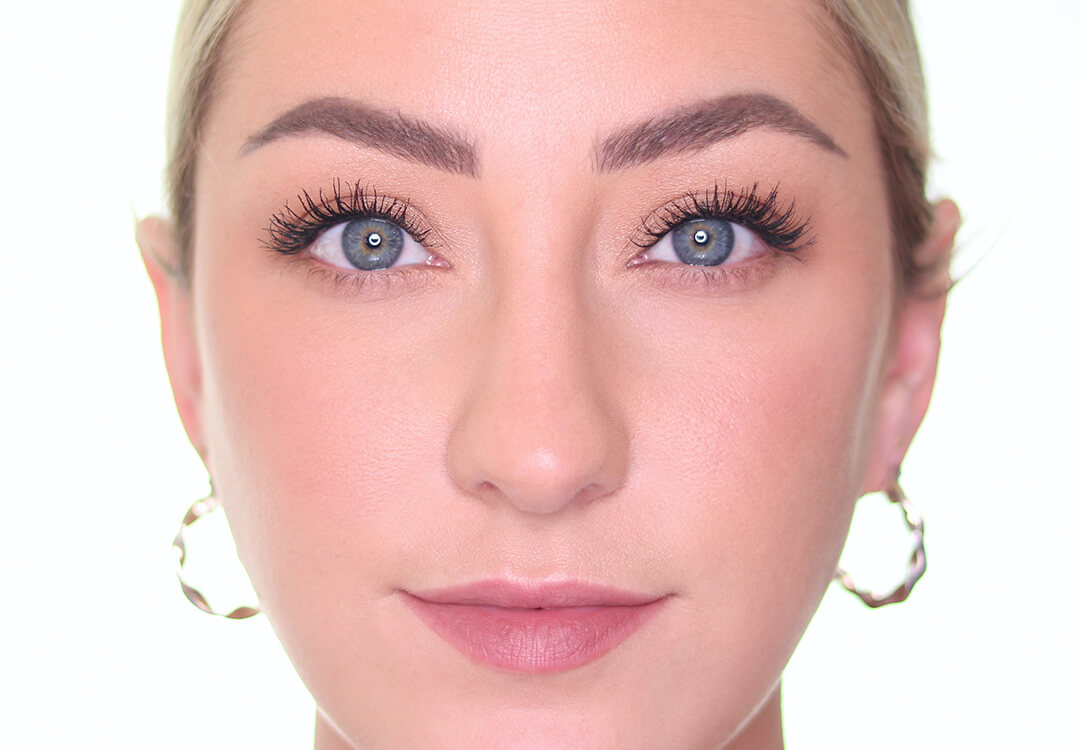
Trust us—the easy process is well worth it. Adding an eyelash curler to your eye makeup routine can make your lashes look longer in 10 seconds or less, so you can do it every day. “Typically, lashes are naturally on the straighter side, which makes it more difficult to see their true length,” says Baker. "Eyelash curling highlights their true length." Ready to learn how to curl eyelashes from a pro? Keep reading.
About the Expert:
Anne Baker is a California-based makeup artist and the talented creator behind Glam N Anne on Instagram and YouTube.
How to Curl Lashes the Right Way:

1. Prep your lash curler.
First grab the eyelash curler. We love Glam Bag favorite MAËLLE BEAUTY Filmstar Eyelash Curler for its universal shape that works with any eye shape, easy-to-hold ergonomic handle, and gentle, latex-free rubber pads. To get your tool ready, warm it up a bit (warm being to key word here, not heat) by holding the top of the curler in your hands or blasting it with your blow dryer. Just make sure to tap the curler on the inside of your wrist to make sure it’s not too warm before holding it against your eye. “This will help you get the best curl possible,” says Anna. “By warming up the curler, it essentially acts like a curling iron for your hair and gives your lashes more lift and more staying power.” Want to feel a little extra? They even make self heated eyelash curlers!
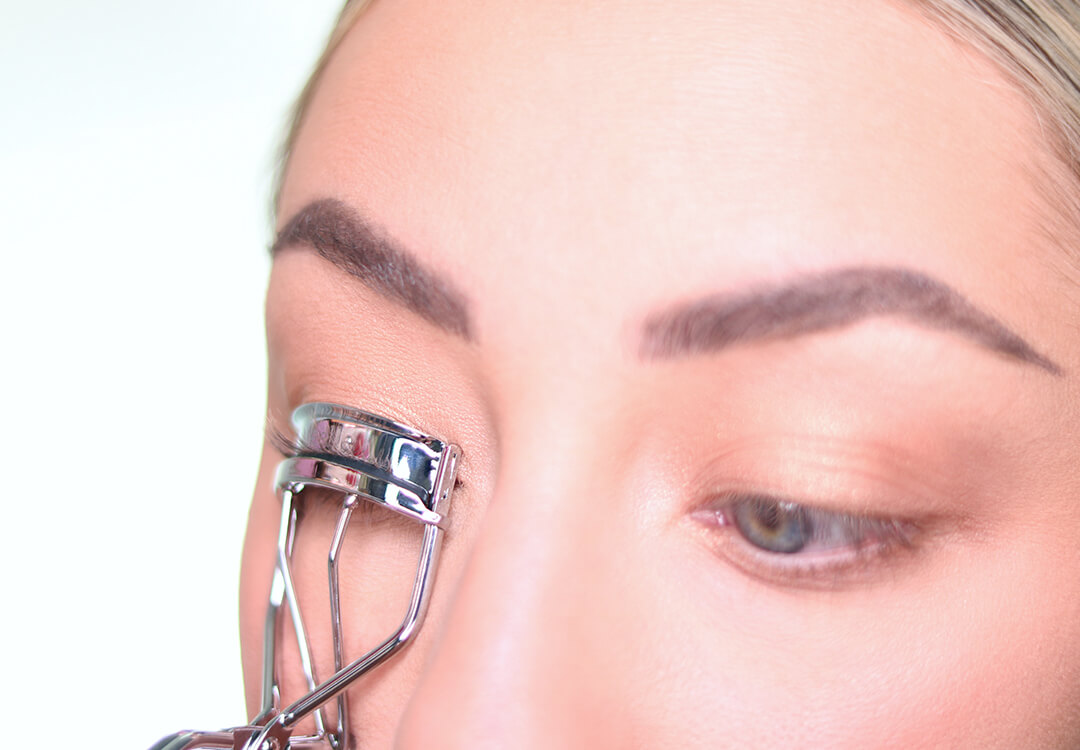
2. Get it in position.
“With your eye halfway open, position the lash curler around your lashes, placing it at the base,” says Baker. Having a hard time seeing what you’re doing? Look down into a mirror during this step to help you visualize the placement of your curler along your lash line. You want to get as close as possible to the base of your lashes without grabbing any skin.
3. Pulse a few times.
Once you feel comfortable with the placement, it’s time to get curling. “Clamp down on the curler for five to 10 seconds with light pulses,” says Baker. Again, start slow to make sure you don’t accidentally have any skin in the curler.
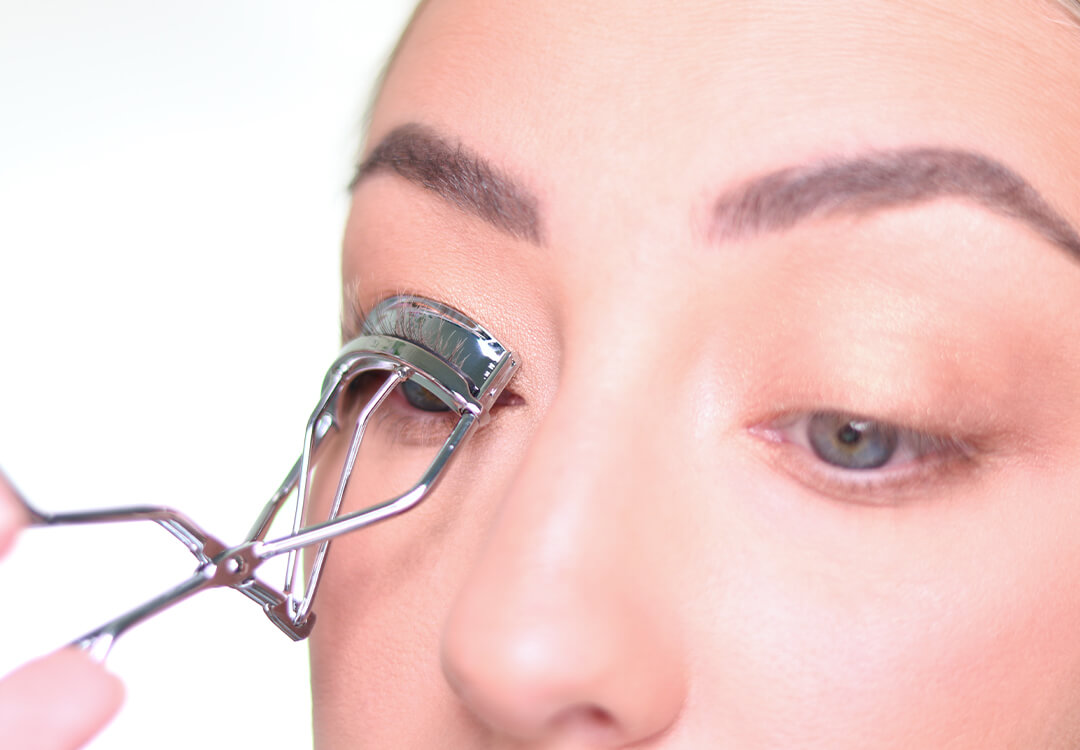
4. Take it to the next level.
Battling super straight lashes or lashes that just don’t seem to hold a curl no matter what you try? This pro trick could help. As the curler is clamped gently over your lashes, gently tilt the lash curler handle up toward your forehead slightly. This will create a more intense curl.
5. Extend the curl.
At this point in the process, you’ll just be left with a slight crimp at the base of your lashes. But for the most natural-looking lash curl possible, Baker recommends taking the curl through the entire length of your eyelash: “Turn your head to the side to better see your lashes in the curler, and lightly pulse the lash curler down the length of your lashes. Then place the curler back at the base of the lashes and give it one last pulse.”
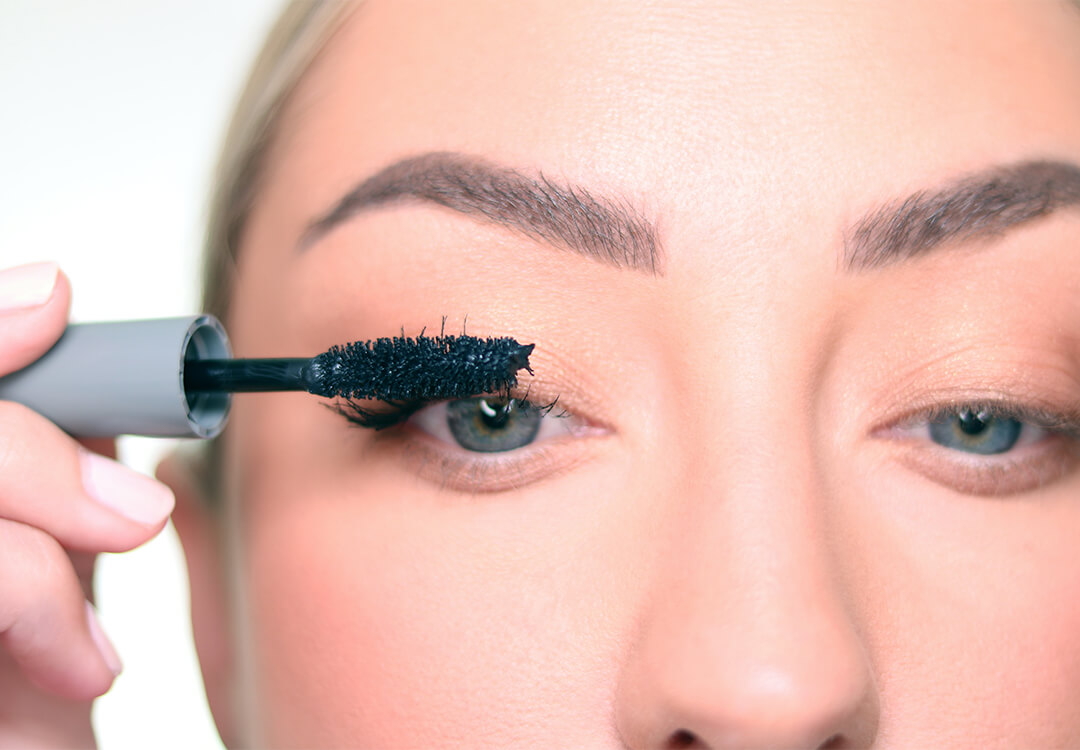
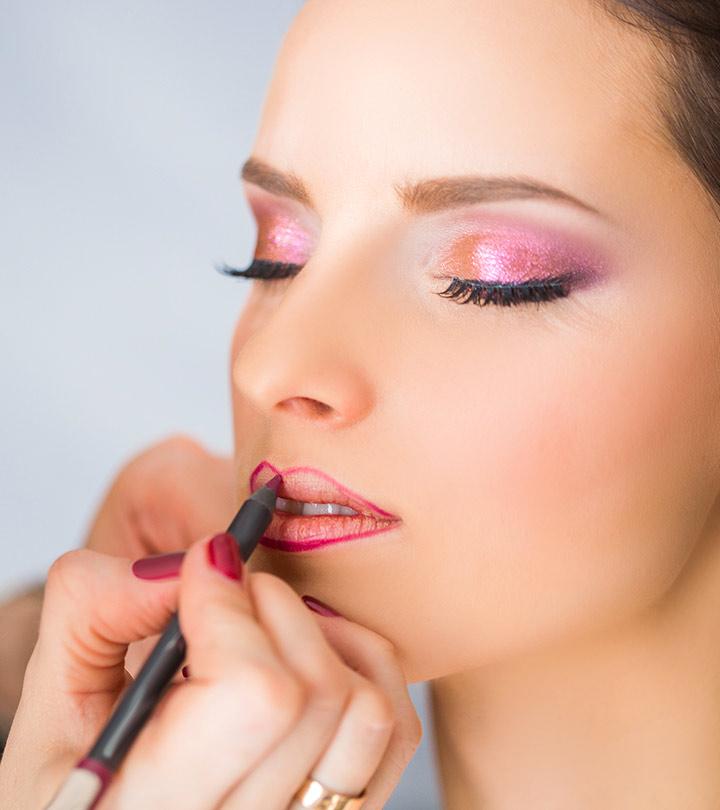
6. Lock it in with mascara.
A few coats of a volumizing mascara, like IT COSMETICS Lash Blowout Salon Volume Lift Mascara in Black, will hold the curl in place all day and give the look of falsies without wrestling with a lash strip and glue. And no matter what hacks you see on the Internet, do not apply mascara before you curl your lashes. “Curling your lashes with mascara on could potentially cause damage to your lashes if you're not careful because the curler can stick to the mascara and pull on your lashes,” adds Baker.
So there you have it: the right way to curl your lashes straight from a pro makeup artist. Have you tried these tricks? Let us know @IPSY.
Want in on all the IPSY Glam Bag fun? Take our Beauty Quiz now to get started. Already an Ipster? Refer your friends to earn points, which you can use toward products. Either way, don’t forget to check us out on Instagram and Twitter @IPSY.


No comments:
Post a Comment